Paving slabs are the perfect choice to create a clean look on outdoor patios. They come in an array of colors and materials and can be used to match any patio furniture. Paving slabs are designed to create a stable platform for walking with a beautiful look. Unfortunately, due to shifts in the slabs or incorrect installation, the paving slabs can come loose and wreak havoc to your beautiful outdoor patio.
The most common reason why paving slabs come loose is that the pavers are laid on an uneven aggregate bed. Secondly, it could be due to too little mortar being used when the pavers were applied over a concrete base, which causes the paving slabs to shift upon impact. Luckily, with a few easy steps, you can rectify the problem.
Suppose you are curious to know why paving slabs come loose or how you can rectify them. Join me as you gain more insight.
Reasons Why Paving Slabs Come Loose
Paving slabs can come loose due to many reasons. Below are some of the most common reasons:
Paving Slabs Laid On An Uneven Aggregate Bed
Laying paving slabs on an uneven aggregate bed can cause discomfort when walking and cause paving slabs to loosen over time. Before paving slabs are laid, a surface bed of sand needs to be applied; if this is not flattened proportionately, you will find that the paving will not sit evenly.
This unevenness will affect the structural integrity, causing it to break down under the surface and resulting in loose pavers.
Too Little Mortar Has Been Applied
Using mortar is not a requirement when installing pavers. Some pavers are installed over concrete bases with mortar applied underneath and some pavers are installed on top of a bed of sand.
If your pavers were installed over a concrete base with mortar and they are coming loose, chances are that you used too much or too little mortar. You must apply an adequate amount of mortar to secure the pavers when laying paving slabs. Too little mortar will mean that the paving slabs will not be secure, causing them to loosen due to pressure.
Poor Drainage System
Poor drainage can cause water to accumulate on paving slabs, especially during heavy rains. Over time this water tends to seep through and loosen the pavers from underneath. The loosening beneath the pavers can harm the mortar and the aggregate bed. Apart from loosening, the pavers may also start to develop mold due to lengthy contact with standing water.
A good rule of thumb is that you should aim for at least a 1/2 inch of slope for every four feet of pavers. No need for a massive slope here, but it should be great enough to prevent water accumulation.
Too Much Sand or Sub-Base Is Used
There is no hard and fast rule for how much sub base to use for your pavers, however, the general rule is that your sub base should be 4-6 inches for standard walkways and 8-12 inches for driveways.
The recommended sand layer is to use no more than one inch. Too much sand can result in misalignment of the pavers, loosening, and uneven joints.
Incorrect Mix of Mortar
If your pavers were mortar installed, the mortar mix may have been incorrect. The right mortar consistency needs to be applied. While less mortar can loosen the paving slabs, an application of too much mortar will also not suffice and do more harm than good.
The proper mixture should be approximately four shovels of sand for every one shovel of cement.
Gaps In The Sand
Installing pavers over sand has a lot of benefits, however, one of the most common problems is that the sand shifts overtime. Pavers can remain secure for many years, but over time if the sand begins settling, this will cause the paving slabs to become lopsided. The gaps in the sand will also tend to cause the paving slabs to wiggle and loosen.
One way to prevent settling underneath the pavers is to use a mechanical compactor. Mechanical compactors will settle and compact the ground underneath the pavers and it is also used to compact sand in the joints between the pavers. Using a mechanical compactor will not guarantee that you wont have any issues with gaps in the sand, but it will significantly reduce any future problems.
Too Much Space Between The Paving Slabs
Most DIY homeowners make mistakes when setting paving slabs because they do not use spacers to ensure uniformity. As a result, there is often too much or too little space between the pavers which causes the paving slabs to come loose. You can check out an easy and effective DIY installation of paver slabs over dirt here.
Problem With The Edging
The paving edges are often prone to more vulnerable wear and tear. More attention is given to the other paving parts, ignoring the boundaries. If the edging is improper, it can impact the rest of the paving slabs. The border provides an edge of security around the pavers from too much movement.
Paver edging issues usually originate from (i) using the wrong paver edge for the traffic level, (ii) using too much or too little sand, and (iii) improper installation. There are different types of paver edging and they are suited for different traffic levels and environmental conditions. Options include: (i) aluminium, (ii) heavy duty plastic, (iii) perma-edge borders, and (iv) concrete. We typically recommend concrete edging for driveways as this will handle vehicle traffic extremely well.
How To Repair Loose Paving Slabs?
It is important to repair loose paving slabs as soon as possible. Loose paving slabs can be a serious tripping hazard and present a danger to playing children. In addition, loose paving slabs can cause other paving slabs to come loose overtime.
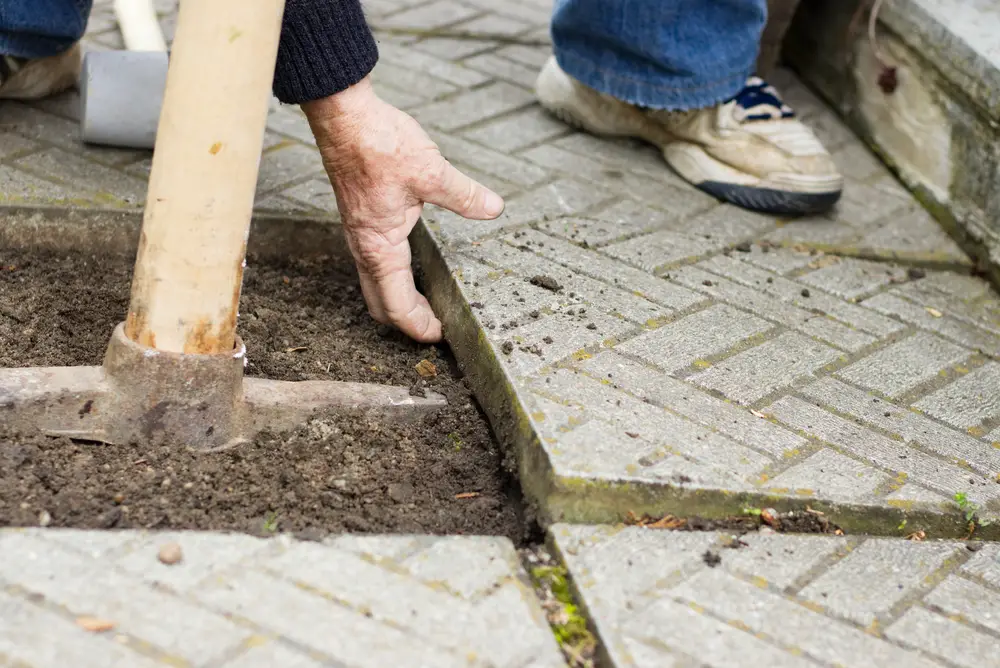
The first step to repairing loose pavers is to remove the existing loose ones; although some pavers may be removed by hand, in most cases, you might need a chisel and a hammer. However, the idea is not to damage the paving slabs.
Keep in mind that one of the great benefits of pavers is that the individuals that loosen or crack can be removed and replaced without pulling up the entire patio.
Below are some of the materials you will need to assist in the removal of the pavers:
- A chisel
- A rubber mallet
- A 12-inch piece of timber
- A spade shovel
- A small cylindrical piece of wood.
Steps To Remove Loose Paving Slabs

Once you have the above materials handy, you can proceed with removing the loose paving slabs by following the below steps.
- With a plugging chisel and a rubber mallet, carefully chip the mortar or sand joints around the paving slab. Persist until the slab comes loose.
- Use a spade on the area where the mortar or sand was and try to lift off the paver; place the timber beneath the spade to act as a lever; this will make it easier for you to lift the paver and protect it while doing so.
- As soon as the paver starts to loosen, place the piece of cylindrical wood underneath, and roll the slab out.
Alternatively, paver pullers will remove the pavers without having to go through the process of trying to scoop out individual pavers with a spade shovel and a piece of wood. Paver pullers are inexpensive and can be purchased at your local home improvement store or online.
Fixing the Underlayment For Your Paving Slabs (Mortar Installed)

Now that you have removed the loose pavers, the next step is to create a proper bed for your pavers:
- Start by removing the remains of the old mortar off the pavers, you can do this by chipping away at them.
- The remains of the old mortar will still be on the aggregate bed; if you want to ensure that you do not damage the aggregate, carefully remove the old mortar using a chisel and a rubber mallet.
- The small peaks and chips from the aggregate layer help the mortar adhere better; with a chisel, you will ripple the aggregate.
- To mix the new mortar, ensure that you get the consistency correct. The recommended mixture would be one shovel of cement and four shovels of sand. There should be instructions on mixing the mortar on the cement package.
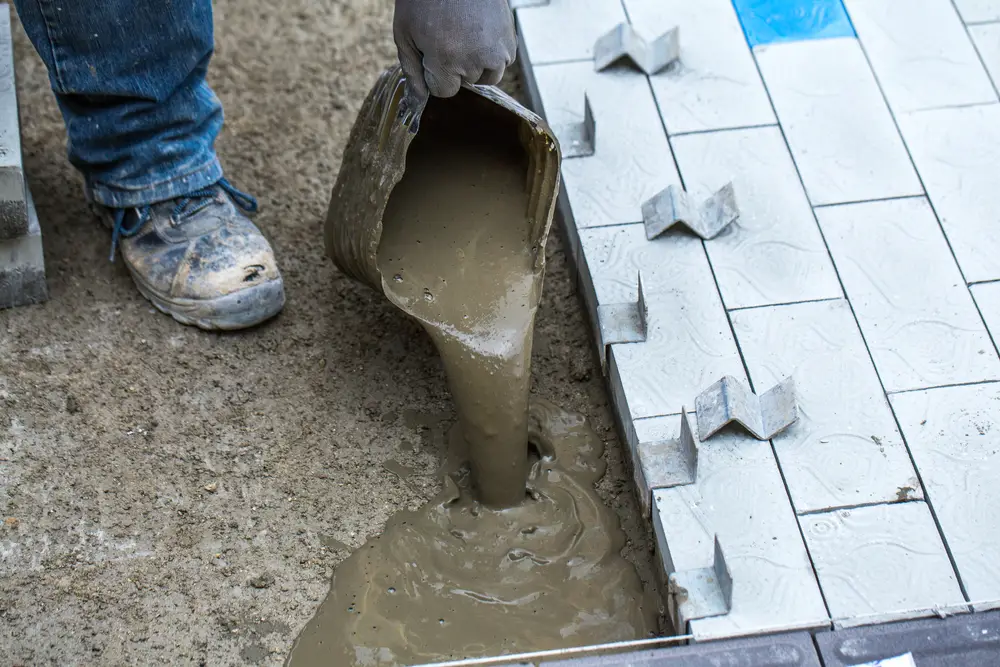
- Once you have mixed the mortar, use a trowel (or pour an even amount from a bucket) to apply the mortar to the aggregate. The idea is to create a bond between the paver and the mortar. It would help if you used enough to make this bond but not too much to create an uneven surface.
Resetting The Paving Slabs (Sand Installed)

Reinstalling pavers on a bed of sand is quick and easy.
- Pour a new layer of sand into the space left by your removed paver. You can level the sand by hand and then use a hand tamper to compact the sand.
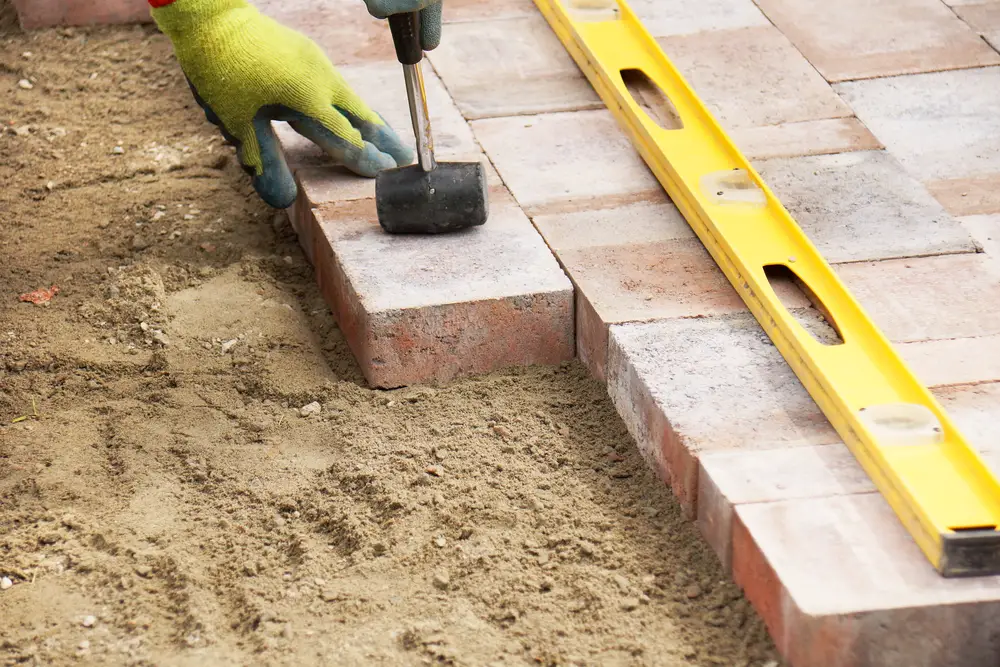
- Put the pavers back in position. To ensure that the spaces are in unison, you will need to use a small, uniform pieces of wood or spacers to separate each paver.
- Use a hand tamper to stamp the pavers into the sand. Hand tampers are inexpensive and can be purchased at your local home improvement store or online.
- Fill in the joints of your reinstalled pavers with sand and you are done!
- Steel 8-Inch x 8-Inch head
- 9-Pound steel head
- Hardwood handle with thicker lower section for additional strength
- Used to flatten and smooth dirt, stone, asphalt, and other materials
Resetting The Paving Slabs (Mortar Installed)
Now that you have created the bed, your next step will be to reset the paving slabs. Reinstalling pavers is thankfully a pretty simple process.
You will need to follow the below process:
- Put the pavers back in position. To ensure that the spaces are in unison, you will need to use a small, uniform pieces of wood or spacers to separate each paver.
- The mortar beneath the slab takes about 24 hours to set.
- I use an electric drill with a mixing paddle to mix three spades of sand and one spade of cement to create mortar. If you don’t have an electric drill, you can mix the mortar by hand with a hand mixer.
- Using a pointed trowel remove the pieces of wood and fill the spaces with the mortar mix, try not to overfill the areas.
- Using a stiff bristle brush or a sponge, remove the excess mortar. Give the pavers some time to set and the mortar to dry before walking over these surfaces.
Conclusion
There are various reasons paving slabs may loosen, and once you have identified a loose paving slab, avoid procrastinating about getting it repaired. The most important thing is that you ensure that your pavers are reinstalled accurately so that you do not have a recurrence.
With proper maintenance and care of any loose pavers, your paver patio will easily last a lifetime!
